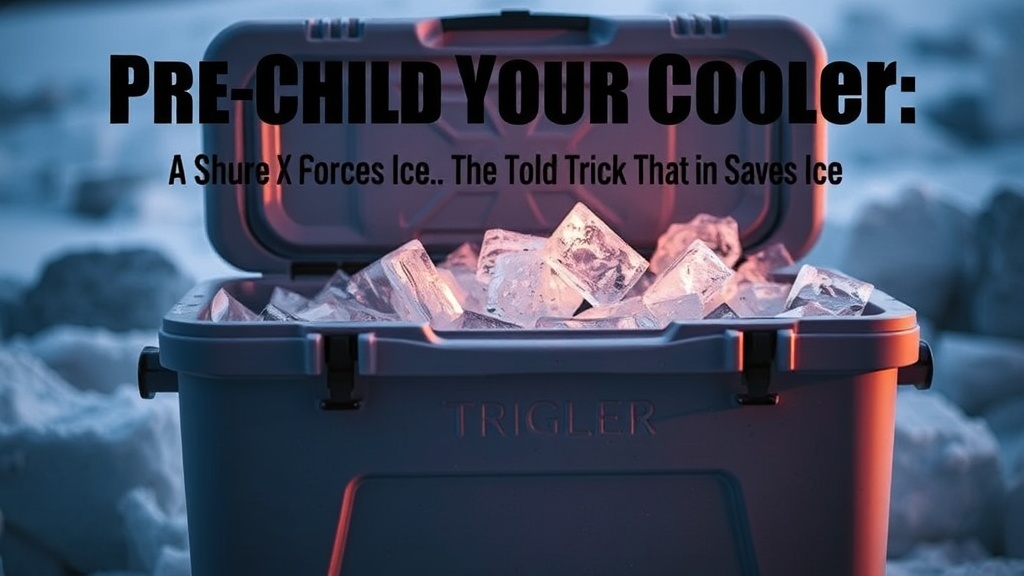
Pre-Chill Your Cooler: The 4-Hour Trick That Saves Ice

Quick Tip
Pre-chill your cooler with ice or frozen water bottles for at least 4 hours before packing it to dramatically extend ice retention during your trip.
Why Does Pre-Chilling a Cooler Make Ice Last Longer?
Pre-chilling a cooler prevents ice from melting rapidly when it contacts warm plastic walls. Most people lose 20-30% of their ice within the first few hours simply by skipping this step. That's ice you paid for—melting away before lunch on day one.
Here's the thing: coolers are insulators, not refrigerators. The thick walls that keep cold in also retain heat when stored in a hot garage or attic. (And let's be honest—most coolers live in the garage between trips.) When room-temperature walls meet frozen ice, that heat transfers immediately. The result? A slushy mess by morning.
How Long Should You Pre-Chill a Cooler?
Four hours is the sweet spot for pre-chilling most rotomolded and hard-sided coolers.
The catch? Timing matters more than temperature. A 20-quart Yeti Roadie chills faster than a 65-quart RTIC Ultra-Light. Here's a practical breakdown:
| Cooler Size | Pre-chill Method | Minimum Time |
|---|---|---|
| 20-30 quarts | Ice bags or frozen water bottles | 2-3 hours |
| 40-55 quarts | Ice bags or frozen water bottles | 4 hours |
| 65+ quarts | Ice bags (more mass needed) | 6-8 hours |
| Soft coolers | Overnight in freezer (if fits) or ice packs | 4 hours |
Worth noting: overnight pre-chilling won't hurt. Many experienced campers store their coolers in a cool basement or pack them the night before with sacrificial ice.
What's the Best Way to Pre-Chill a Cooler?
Frozen water bottles work best— they're reusable, don't create slush, and double as drinking water.
Bagged ice works too, but you'll drain meltwater before packing. That said, frozen bottles are cleaner. (No one wants cooler water leaking through the car.)
Steps for the 4-hour method:
- Move the cooler to a shaded, cool area—garage floors work if air-conditioned spaces aren't available.
- Place 2-3 frozen Hydro Flask or standard water bottles inside. For larger coolers, add four or more.
- Close the lid—completely. A cracked lid lets warm air circulate.
- Wait. Four hours minimum for standard sizes.
- Remove the pre-chill bottles, pack your food and fresh ice, then return the chilled bottles on top.
Some campers swear by sacrificial ice—cheap bagged ice that gets discarded after chilling. This works for multi-day trips where every frozen bottle counts. For weekend getaways, the bottle method keeps things simple.
Rotomolded coolers like the ORCA 40-Quart hold temperature so well that pre-chilling becomes even more critical. Skip it, and you're fighting physics with expensive ice.
One last tip: pre-chill the contents too. Room-temperature drinks undo everything. Load the cooler with cold items from the refrigerator—not the pantry shelf.